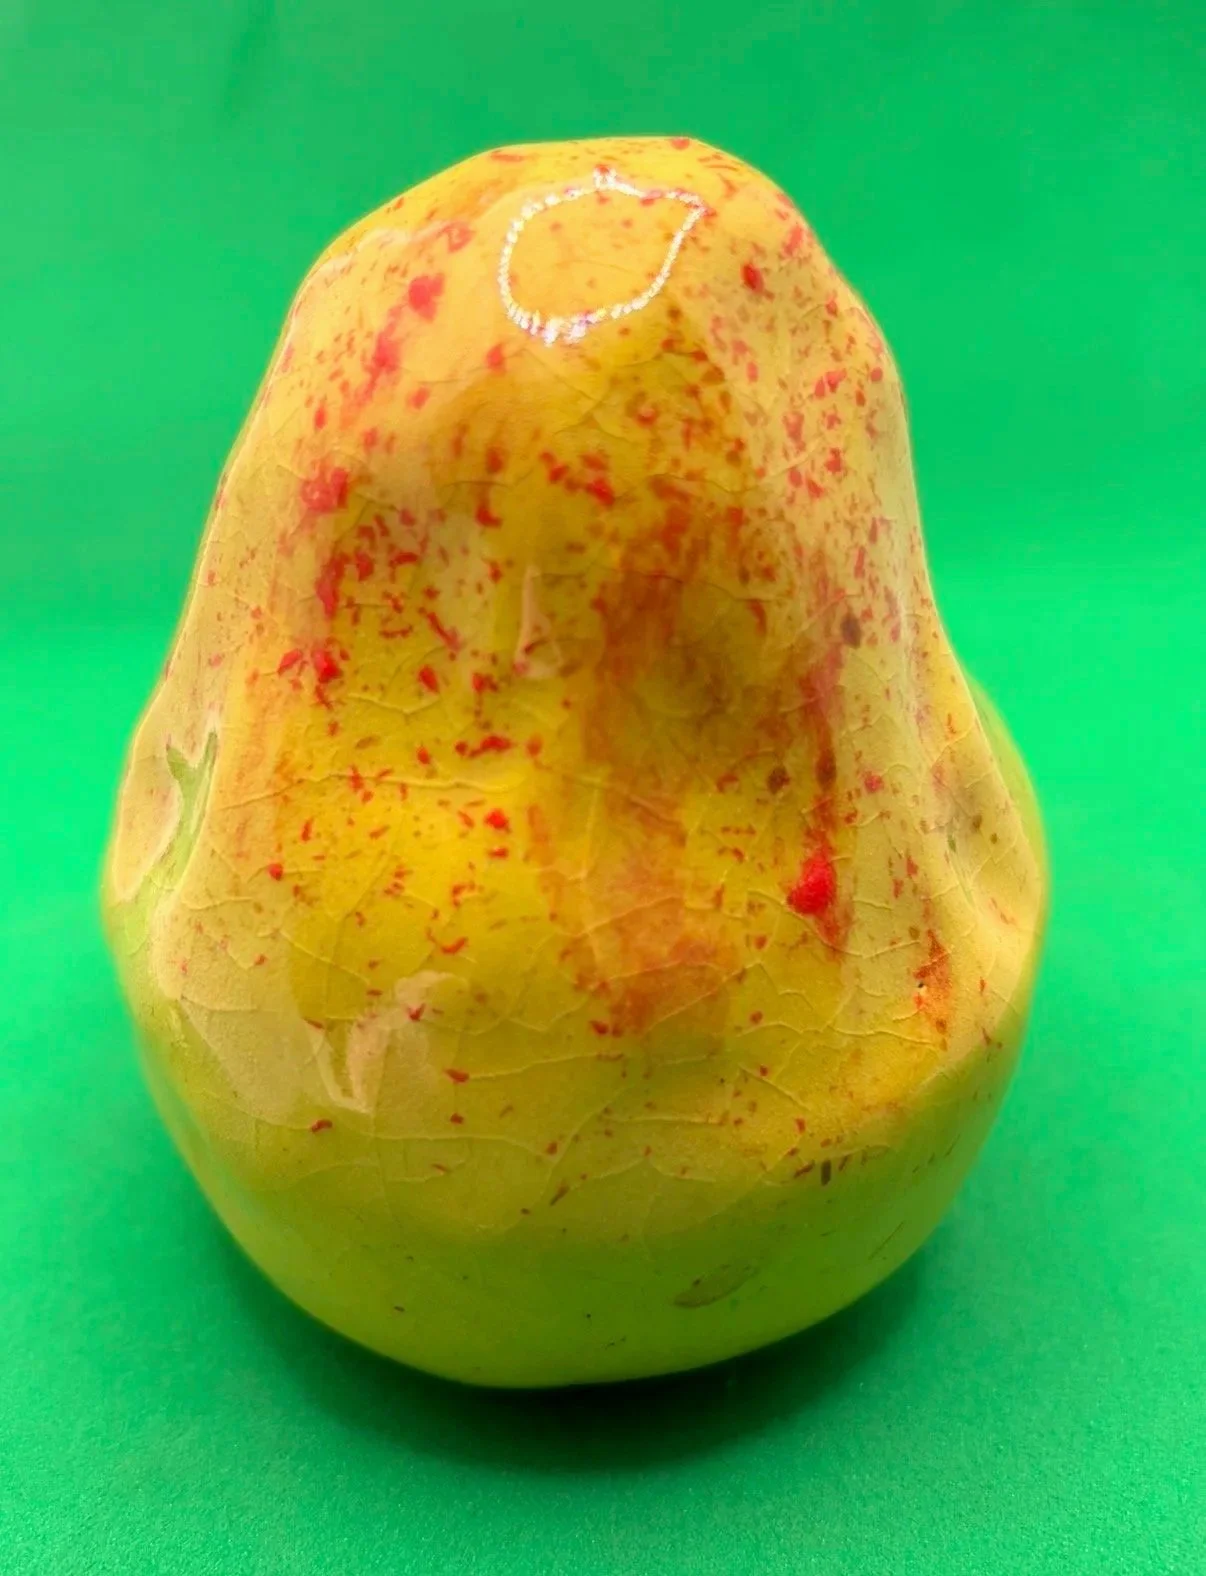
The Pinch Pot Technique
For my ceramic pear, I used the pinch pot technique, creating two separate hollow forms and joining them together to make one three-dimensional shape.
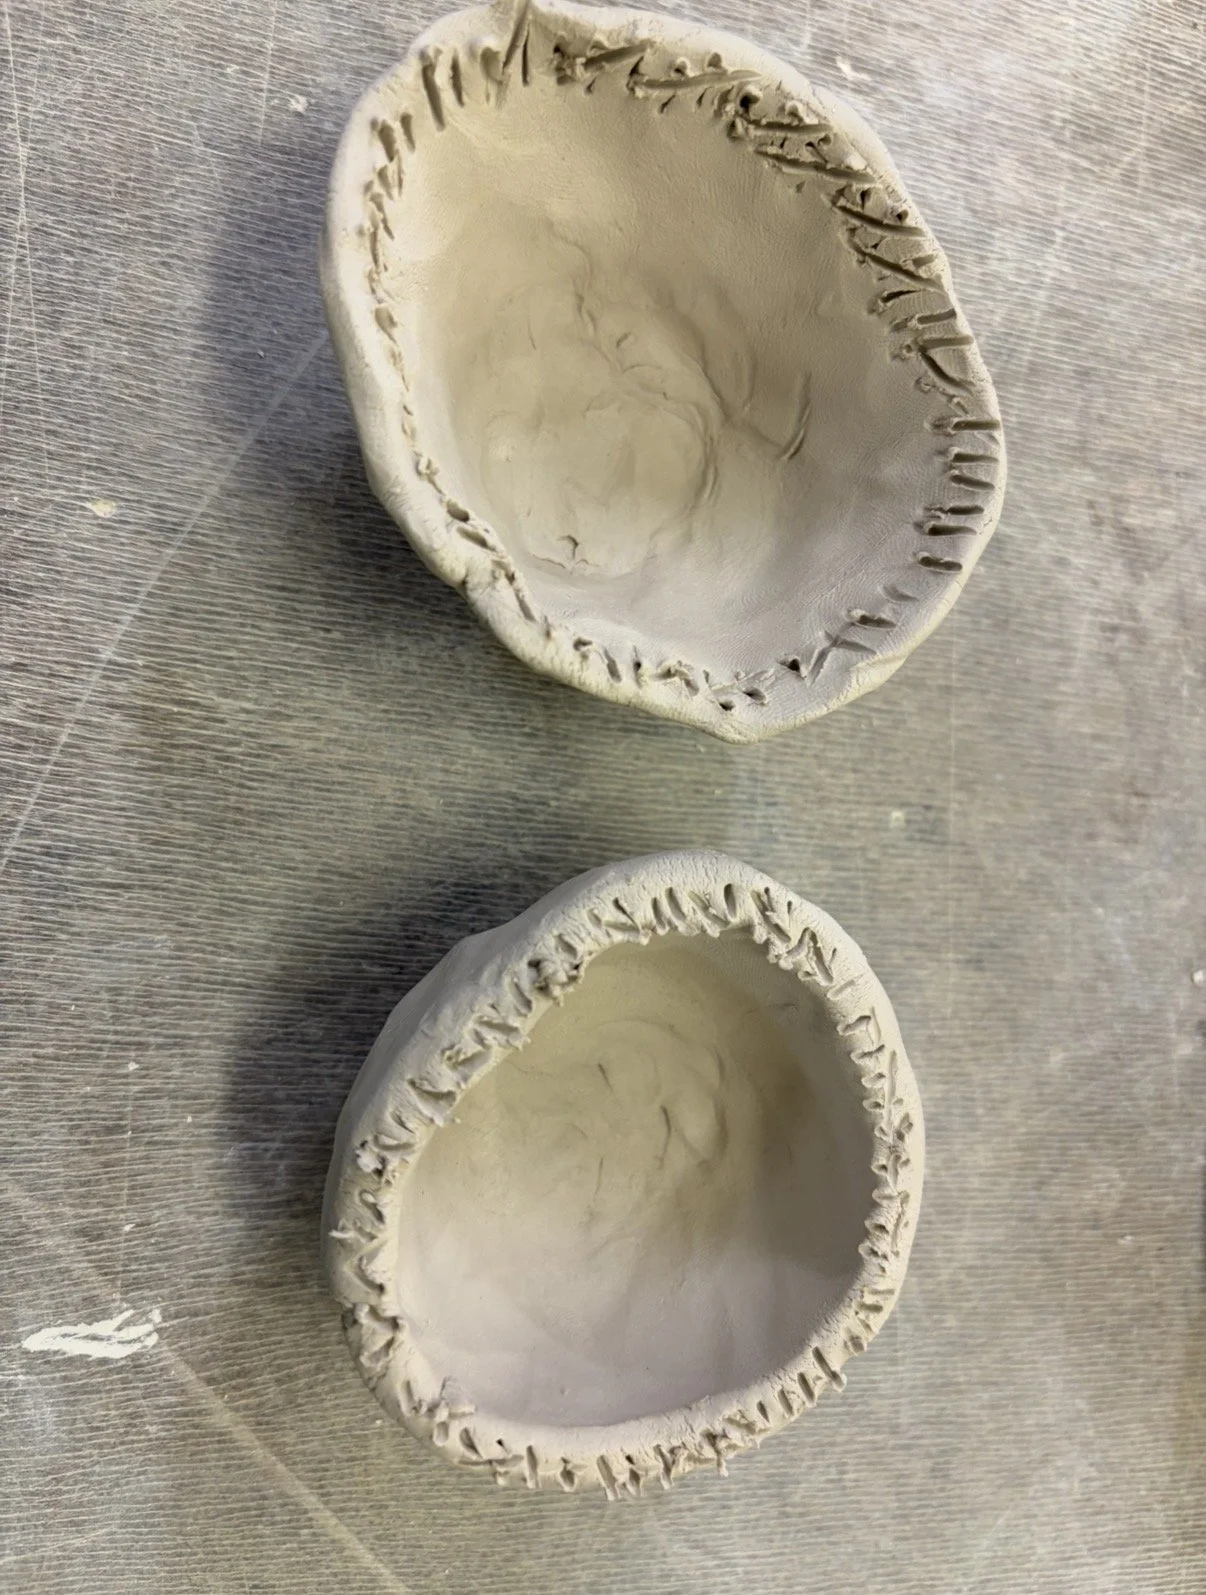
I started with two balls of clay, pressing my thumb into the centre of each and gradually pinching the clay outwards to form two small bowls. I then shaped and adjusted them so they would fit together to create the rounded body of the pear.
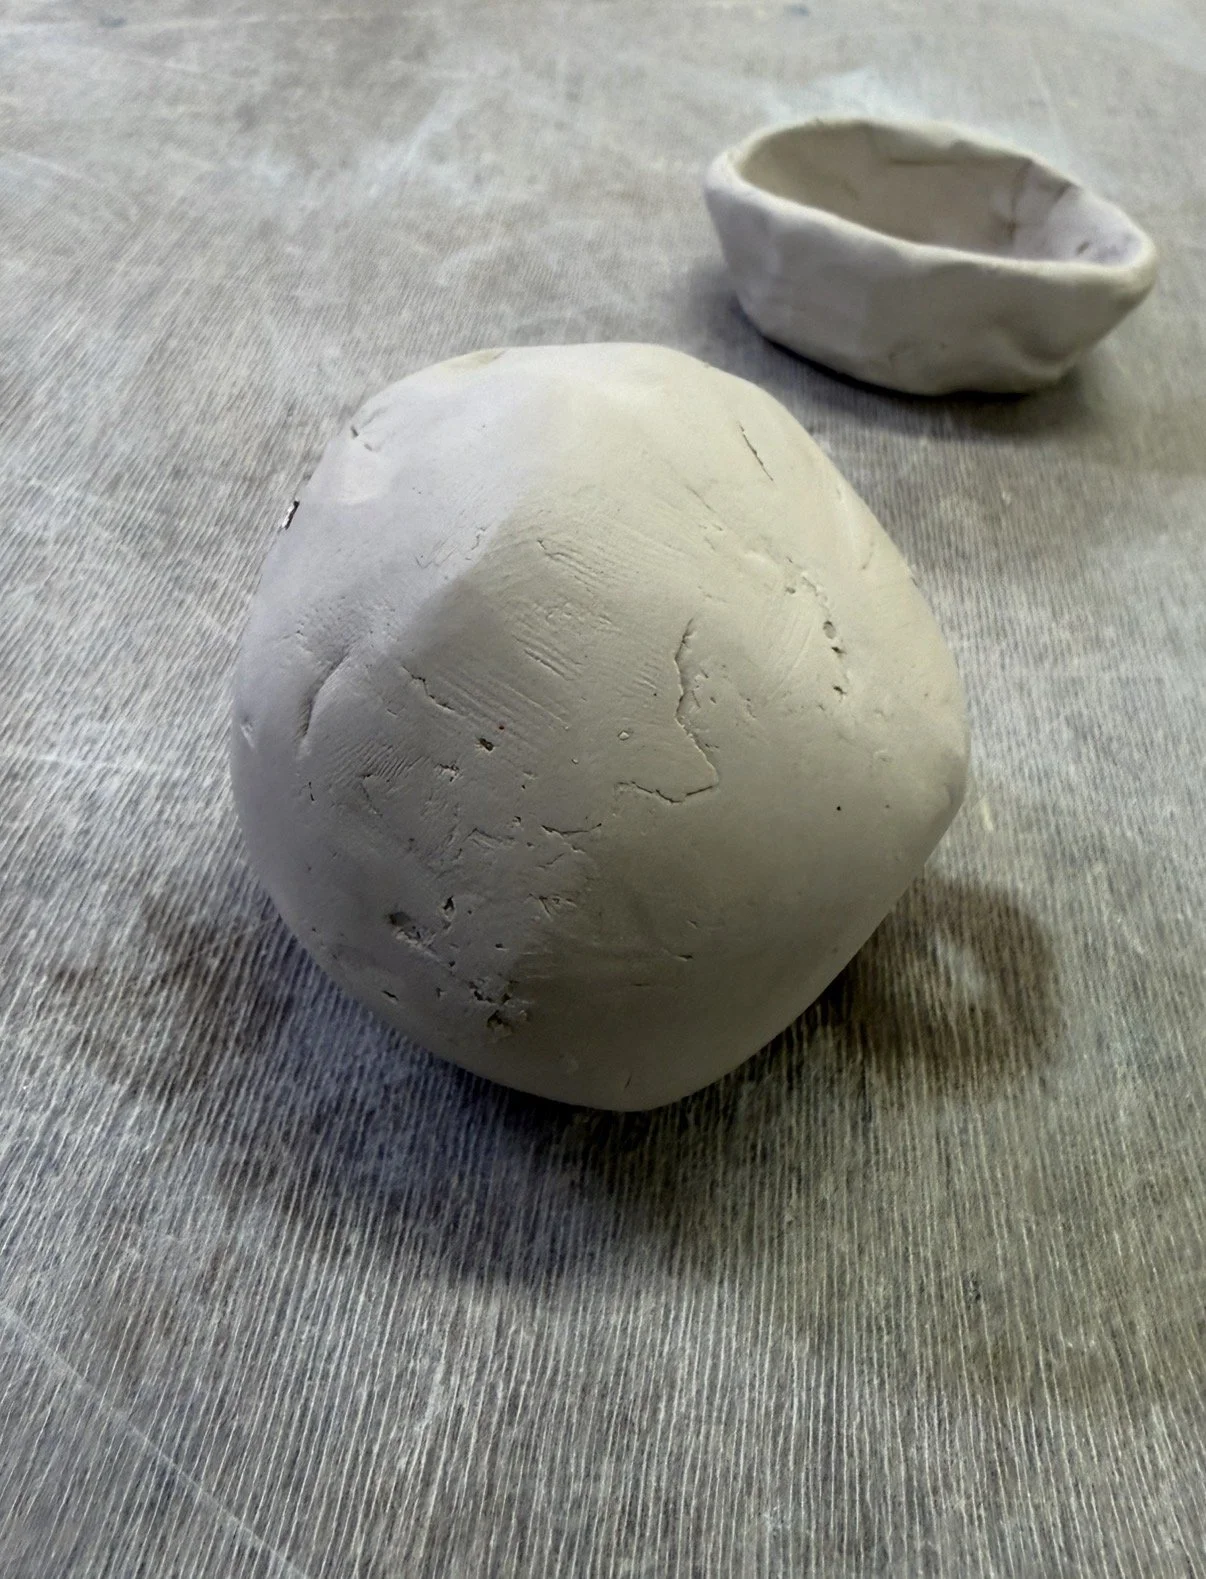
The biggest challenge was joining the two pinch pots securely and smoothing the seam without losing the shape. I used the scoring and slipping technique to join the two halves, then carefully blended the clay around the join. I continued shaping the pear by hand, narrowing the top and keeping the bottom wider to achieve a natural pear shape.
I found this process challenging but really enjoyable. It took patience to get the proportions right and smooth out the surface. I also learned how important it is to keep the clay walls reasonably even.
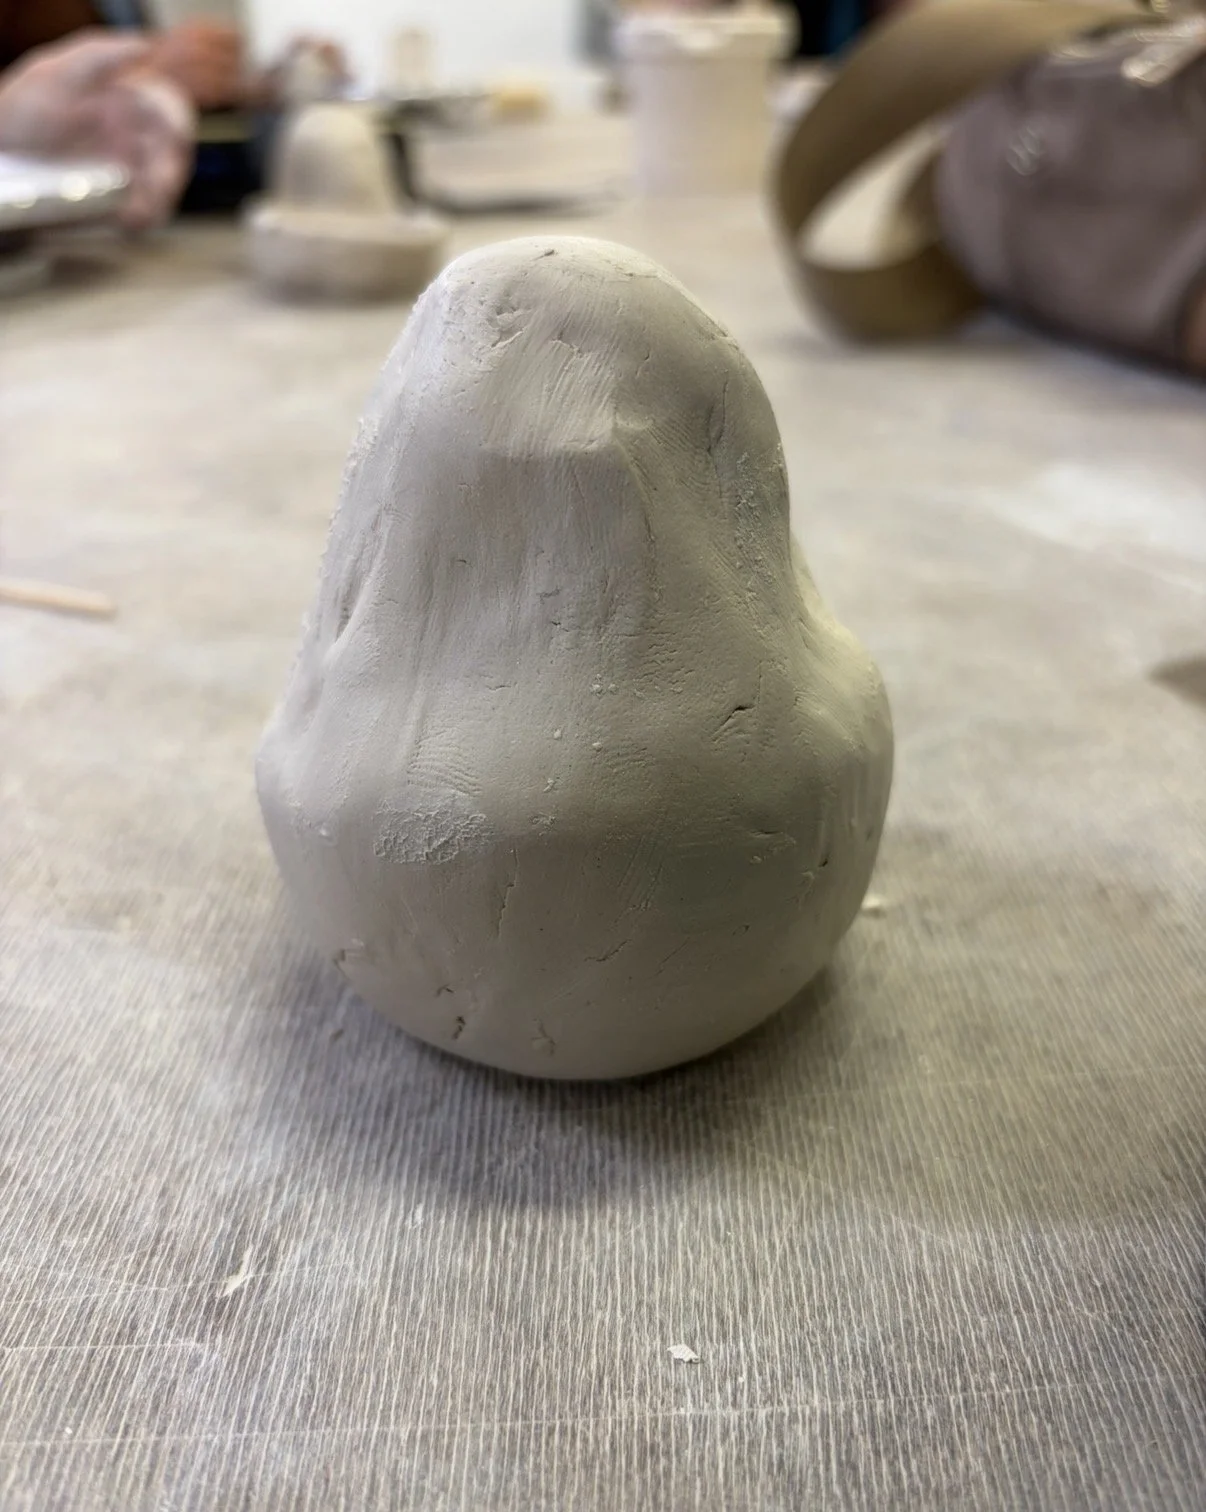
Once the pear was formed, I refined the surface before it was prepared for firing and glazing. I chose a yellow-green glaze with reddish speckles to give it a natural, slightly imperfect appearance.
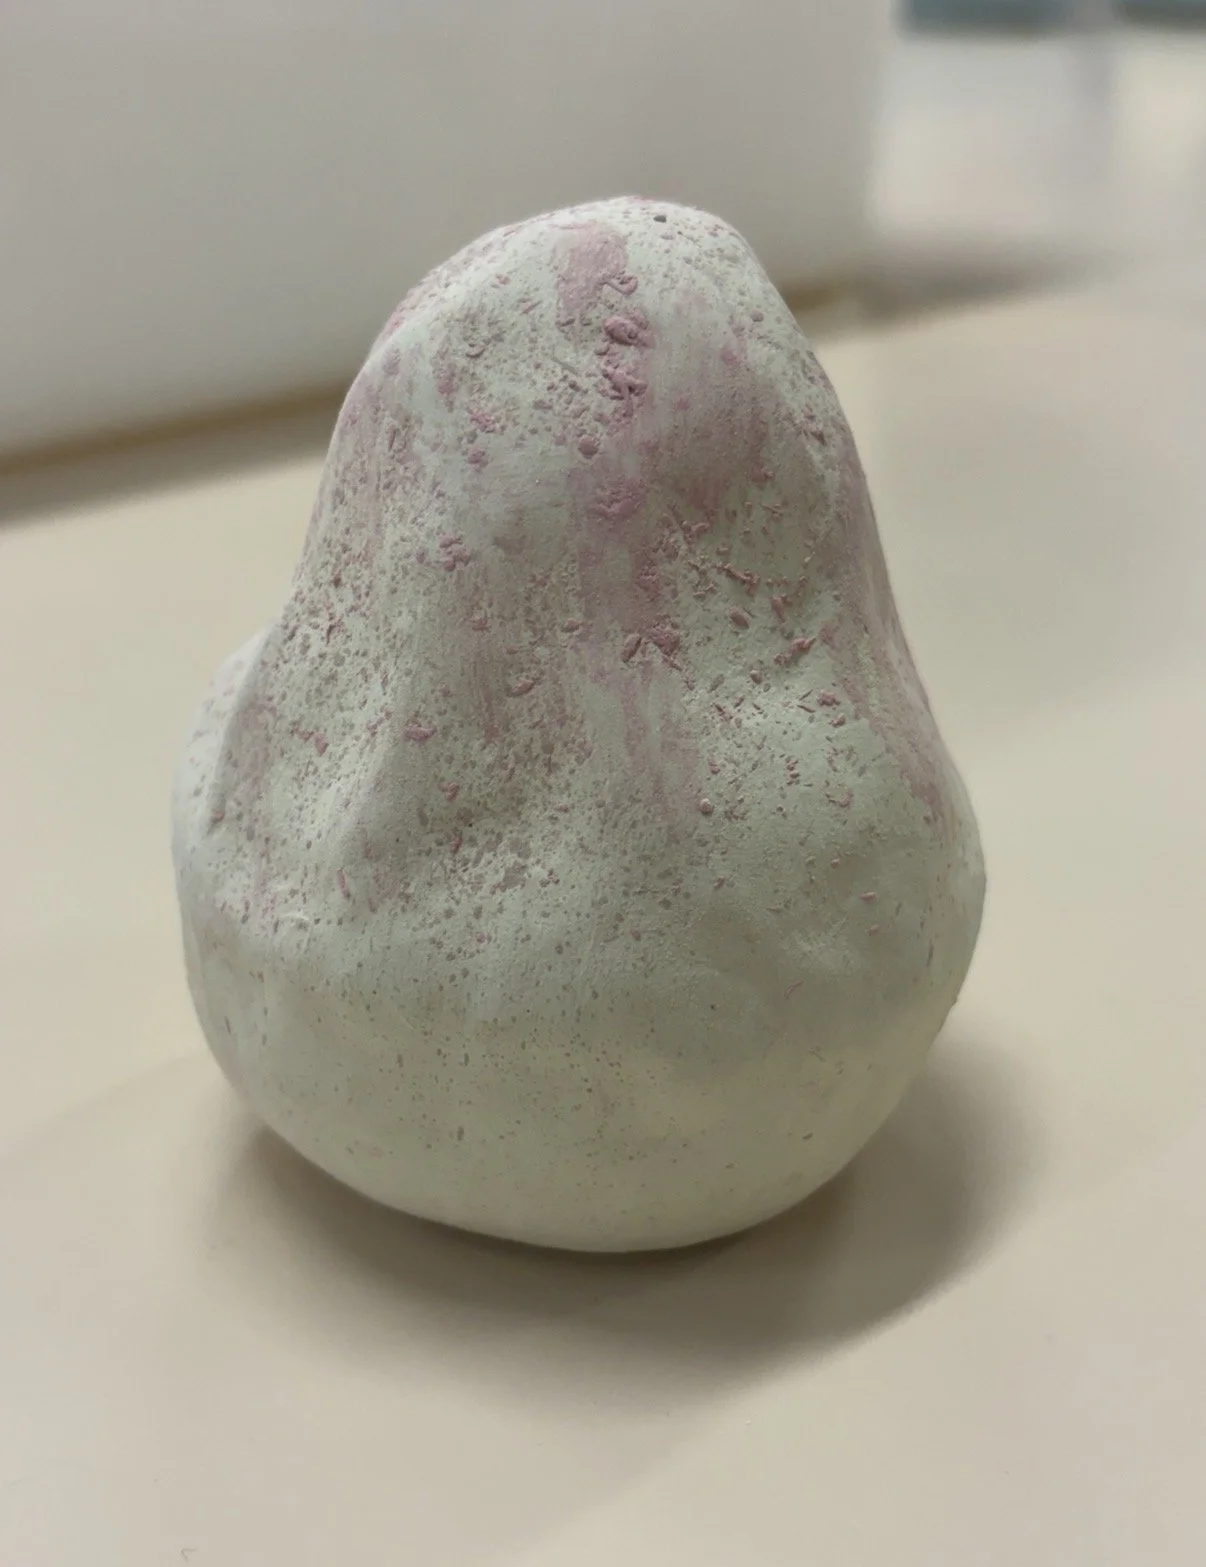
What I loved most was watching two simple pinch pots gradually transform into a recognisable pear. It gave me a real appreciation for hand-building techniques and showed me how much can be created from basic clay forms. Honestly I was hoping it would come out in one piece, and it did! What a win.